PCT-QP Series Compression Connectors
Instruction Guide
PCT-QP Series Compression Connectors
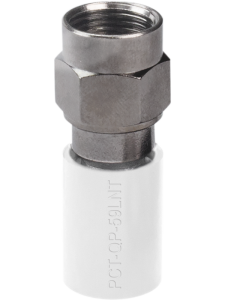
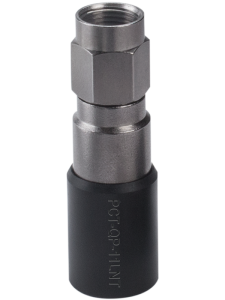
PCT-QP-6LNT, PCT-QP-59LNT, PCT-11LNT, PCT-11LBNT
Products Used in This Guide
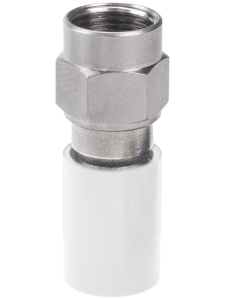
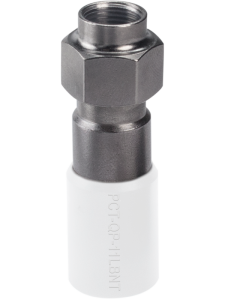
PCT-QP-6LNT Connector
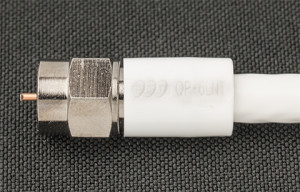
MoCSY®7 75 Ohm Tri-Shield Coaxial Cable
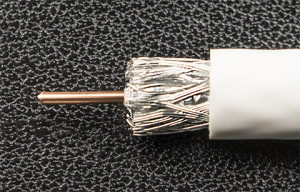
Prepare the Coaxial Cable
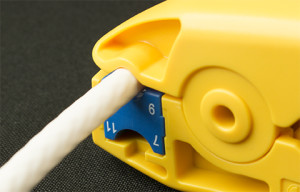
1. Prepare coaxial cable with a standard, approved 1/4 x 5/16 in (6.35 x 7.94 mm) cable prep tool.
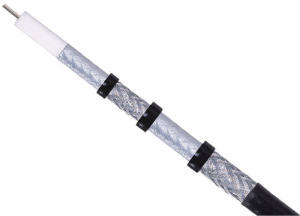
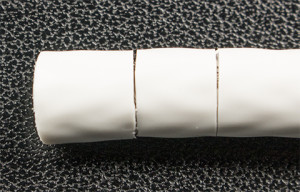
2. Remove prep tool from cable revealing two (2) cuts.
3. Remove cable slug from cable with a twisting motion.
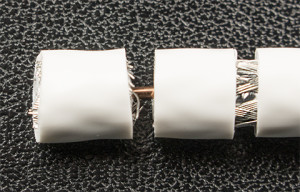
For quad cable: Fold back the first layer of braid wire, remove the outer layer of foil tape and fold back the second layer of braid.
4. For proper connectorization:
a. For standard single tape single braid cable, or for 1PreP® cable:
Remove cut cable jacketing to expose braid. Leave braid forward prior to installing connector onto cable.
Note: Folding the braid back is not required, but either method will result in proper connectorization.
b. For standard tri-shield cables:
For proper connectorization, remove cut cable jacketing to expose foil. It is not necessary to remove tape or fold back braid prior to installing connector onto cable.
Note: Removing the foil and folding the braid back is not required, but either method will result in proper connectorization.
Install the Connector Onto the Cable
1. Line up cable core with connector and carefully slide connector straight onto cable.
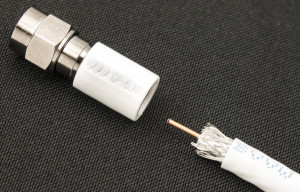
2. Cable dielectric must be flush with bottom of coupling nut.
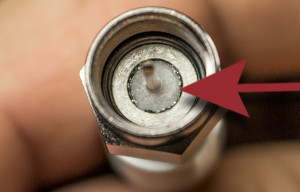
3. Fully compress connector onto cable using either a PCT-AIO-CT or PCT-RHXL-CTAS compression tool.